Create and Send Estimates
In the top right hand corner of the web portal, you’ll now see a “+ estimate” button. From here, you can create an estimate for your customers, just like you would create a job.
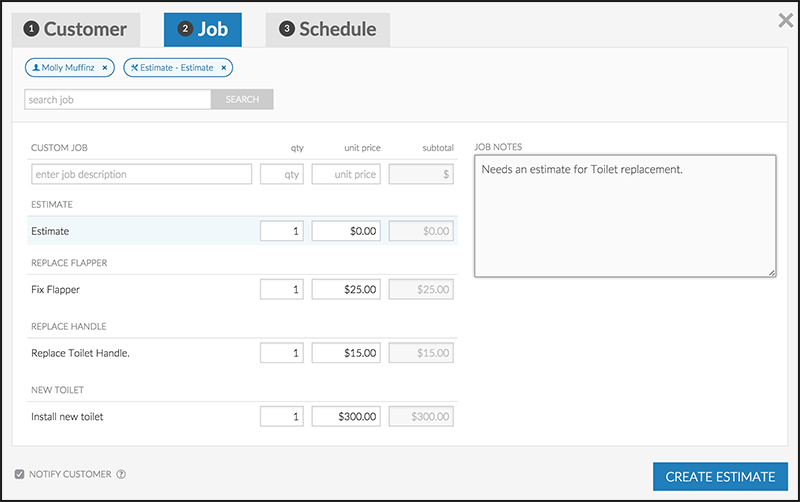
You have to choose a customer, as well as an estimate, but you do not have to schedule it to create the estimate. When choosing the job, you can choose from your list of pre-created jobs or you can create a custom estimate.
Once you’ve hit create estimate, you’ll be taken to the estimate page.
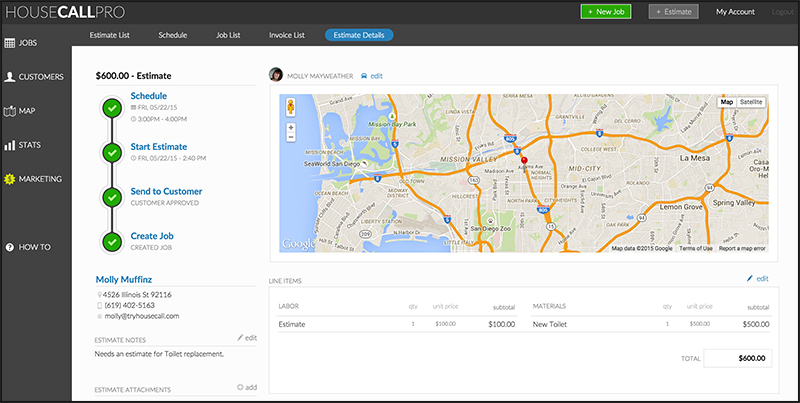
You’ll go through the estimate the same way you would a job. If a home visit is required to complete the estimate, you can “start” the estimate, which will notify the customer that you’re on the way.
You can then update the line items to show the price you’ve estimated.
Send your estimate to the customer
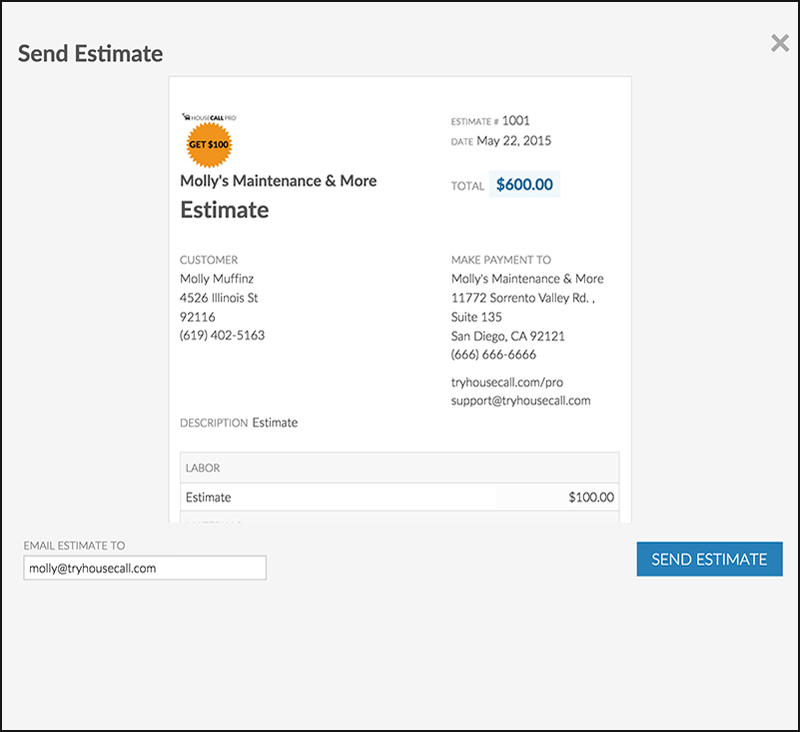
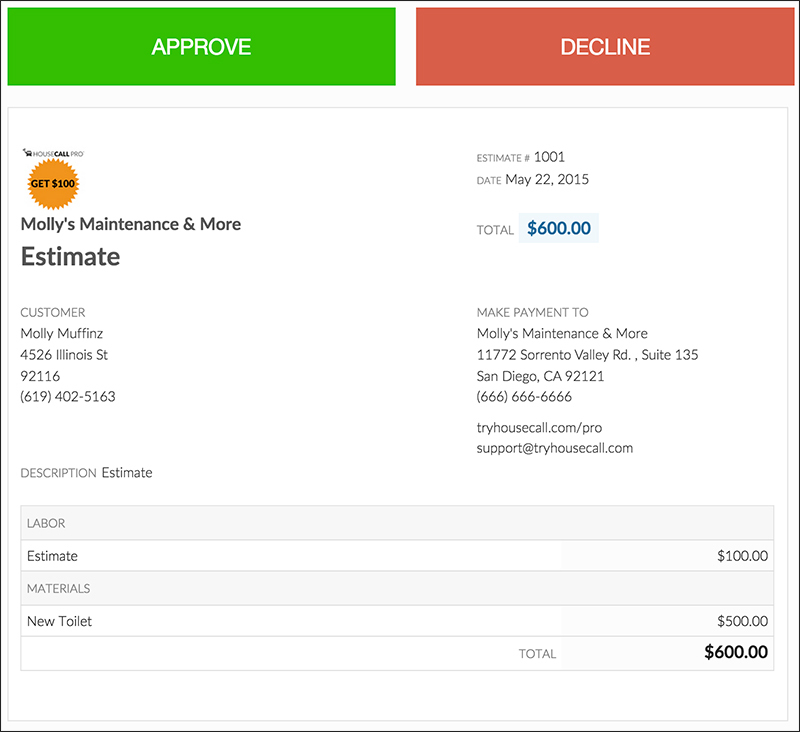
Once you’ve completed the estimate, you can send it to the customer for sign off. They’ll receive an email with the estimate, and are given the option to approve or decline the estimate.
Turn an Estimate Into a Job

When the customer approves the estimate, the final step is to turn the estimate into a job. Once you hit “Create Job” from the estimate page, it will automatically convert the estimate into a job. You’ll also be able to see the additional estimate job notes as well as when the estimate was created.
Pending estimates can be seen on the “estimate list” that’s seen under the jobs tab.
>>>Please Note<<<
We’ve been working hard to make sure estimates work for everyone in the web portal. We know that estimates are also necessary on the phone apps, and will be releasing estimates on both apps as soon as possible.
Edit Previous Postcard and Email Campaigns
Last week, we created the ability to send out postcard and email campaigns based on customer tags. This week, we’ve made it possible to go back into your previous campaigns and edit them. When you click on the campaign, it will pop open and you can click on the “Edit” button to make any changes you want to.
Add Tags to Employees
We created the same tagging system for your employees so that you can sort them by tags when looking at your schedule. When adding or editing employees, you can tag them with whatever you would like to use to distinguish them. When looking at your calendar view, you’ll see a button at the top that says “filter” which will allow you to choose which tag you want to see. This will display only the employees with the chosen tag.
Available Tuesday: Send an Email Campaign Before a Job
Set up an ongoing email campaign to be sent before a job is started. This can be used to remind customers of a scheduled job. You can set up these notifications for as far ahead of time as you want: 1 day, 1 week, 1 month- whatever you prefer.
Check out New Features
